 |
|
| |
 |
Movers |
|
 |
 |
| |
Movers (user controlled) (1) |
| |
|
|
|
 |
|
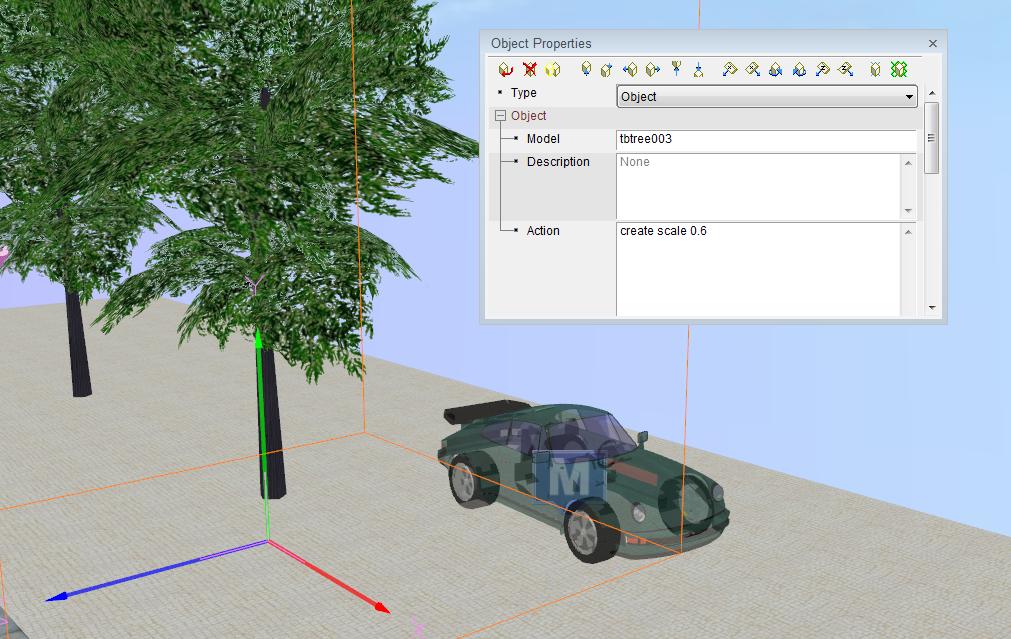
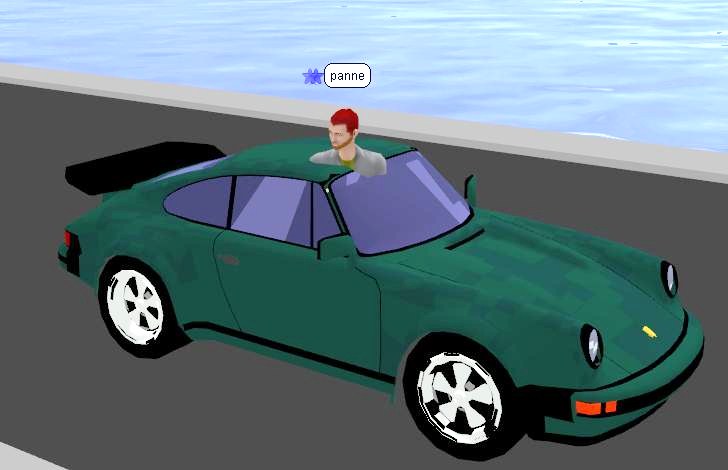
| A mover is an object that can be fixed with your avatar, and any object can be used as a mover : this can be a vehicle (car, boat, bike, plane, horse), but also a seat (chair, sofa) , and even a pick-up item (spoon, axe, gun, book) . Making a mover is rather complicated and we will start with a car as a user controlled mover. In this example we create a sports car , but you can choose any car, bike, van or truck you want. |
| cara50.rwx |
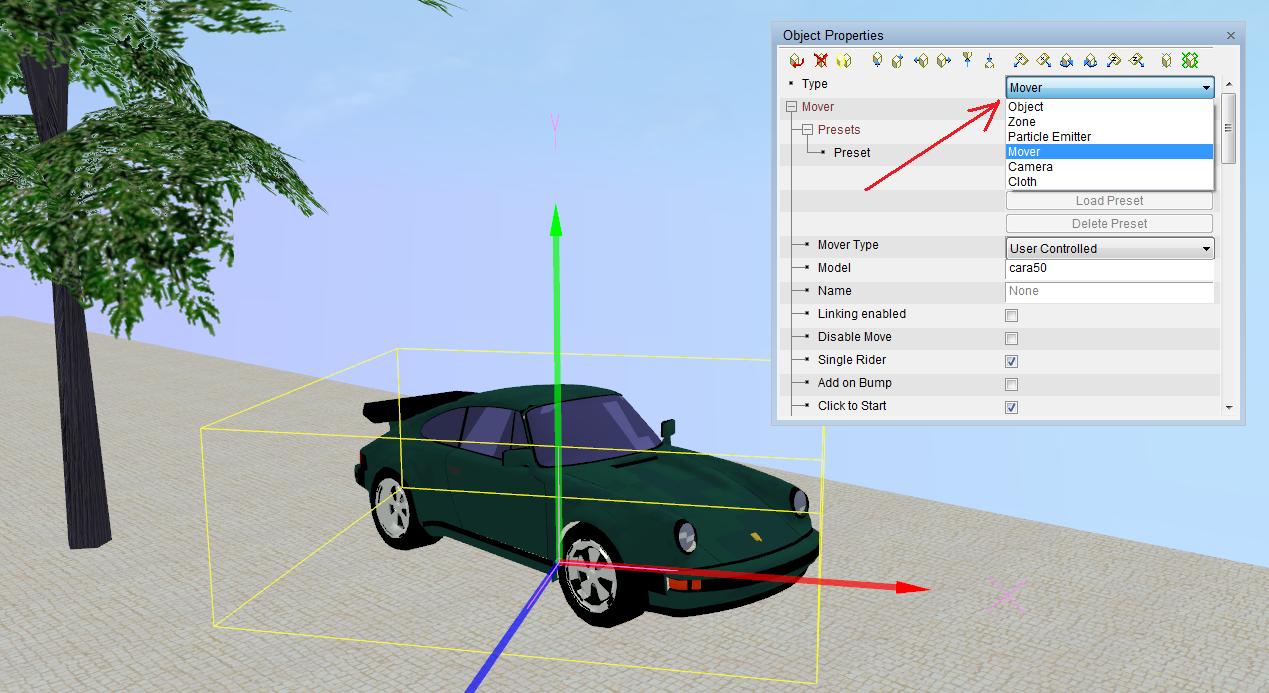
| We right-click upon the object and get into the building mode and here we change the type from "Object" into "Mover". We close the window and you will see that when you "hover" with your mouse cursor over the car , that it has become a mover. |
| Now we got the first problem : the mover doesn't work and you cannot click upon the mover ,there is no reaction. This is because the mover is not "finished" yet. |
| The second problem is that you cannot right-click upon the car in order to go into building mode |
| Now we right-click upon an object in the neighbourhood of the car mover. (e.g. a tree or the floor under the car)Now you are again in building mode, and you will see that the car has the "M"-icon , indicating that this is a mover. |
| Now remain in building mode and now right-click immediately upon this "M"-icon, and you will see again the window with the object properties of the mover. |
| Each time you loose this object properties window, then repeat these steps again. |
|

|
|
|
 |

|
|
|
| 1. make a driving mover (car,bike,train,truck) |
| Now that you are able to select the mover options window, you can start making the selections/settings for this car, but only a few items need to be selected : |
| Eject avatar up on exit |
| Selecting this option means , when you have finished driving, that your avatar will "jump" out of the car, instead of remaining in the car and getting stuck in it. |
| Mover non-solid on exit |
| Or you can choose this instead : when you have finished driving, the car will become non solid and you just walk ahead with your avatar without getting stuck in the car. |
| Disable flying |
| We select this option, and the car will remain on the (street) surface |
| When you scroll down in the mover window, you will find more options : |
| Lock avatar position |
| Lock offset (XYZ): 0.00 0.00 0.00 |
| This is the position where you want to put the avatar upon the object. At the moment we don't know exactly where the avatar will sit down, this means that we will keep these numbers on 0 0 0 . |
| Lock avatar Yaw |
| Locked Yaw (0° to 360°) : 0 |
| This is the direction in which the avatar needs to look, when sitting in the car. We don't know this either yet , so this remains 0 , but we select "lock avatar pitch" |
| Lock avatar pitch |
| Locked pitch (-180° to 180°) : 0 |
| This is the vertical orientation of your avatar in the car : there is the possibility of changing your avatar in horizontal postion , e.g. to sleep in a bed or sofa. But here we don't need that , so the pitch remains on 0. |
|


|
|
|
| We close the mover menu and we start looking at the current result, by clicking again upon the car. Now we see that the mover works ! But unfortunately the avatar looks into the wrong direction. Click upon the F12-key to leave/deselect the mover again and now we go again into building mode, in order to change the mover options : |
| Locked Yaw (0° to 360°) : 60 |
| We try out several degrees; and finally 60 degrees appeared to be the correct yaw for this mover. All depends on how the object has been modelled. And you should be lucky if you shouldn't need to change the yaw position. |
| Invisible av |
| We go again into building mode and select also "invisible avatar" because this car model is not made to see an avatar-model sitting in the car. We close the mover window again and click upon the model. Now we see that the car mover is ready for use. |
| Stop using the mover (=stop driving) : |
| There are 3 ways to stop driving (without have to leave the world) : |
| 1. press the F12 key |
| 2. click upon the "detach movers" icon of the toolbar |
| 3. change camera position into "locked overhead view" and click upon the mover. |
|
 |
|
|
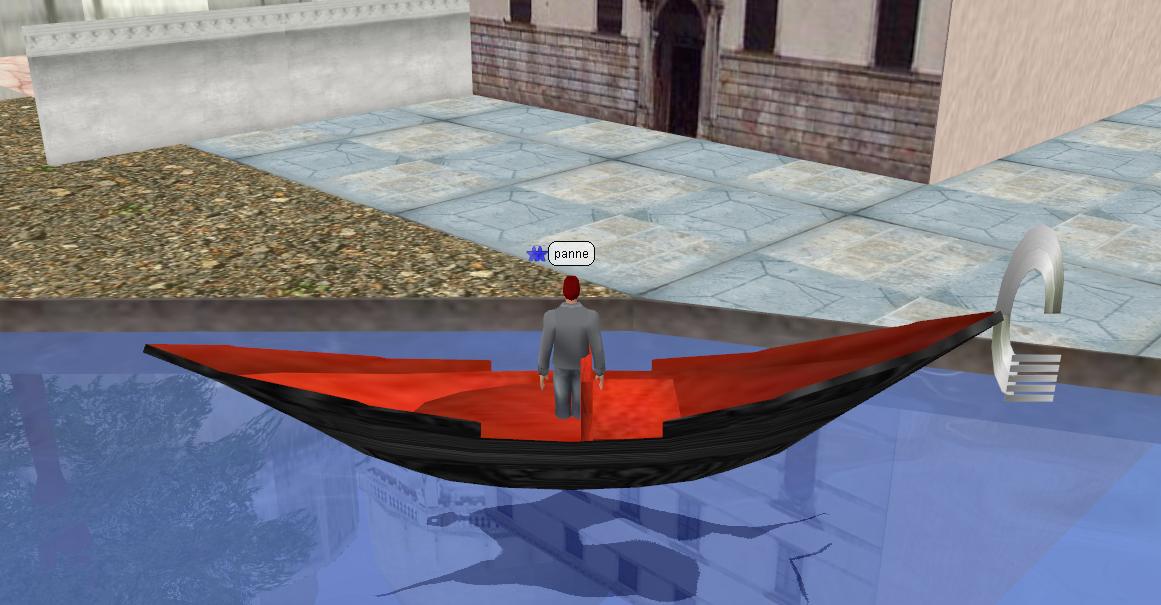
| 2. make a navigating mover (ship, gondola, canoe) |
| In this example we will make a gondola mover and we select the same options as we did for the car mover, except for "keep on water" |
| bam-gondola.rwx |
| Eject avatar up on exit |
| or you can choose :: |
| Mover non-solid on exit |
| Keep on water |
| Instead of "disable flying", we choose here for "keep on water" |
| Lock avatar position |
| Lock offset (XYZ): 0.00 0.00 0.00 |
| Lock avatar Yaw |
| Locked Yaw (0° to 360°) : 0 |
| Lock avatar pitch |
| Locked pitch (-180° to 180°) : 0 |
| Now we check if everything is ok and we see that the avatar looks into the wrong direction. Press F12 and we go into building mode again and change the Yaw |
| Locked Yaw (0° to 360°) : 270 |
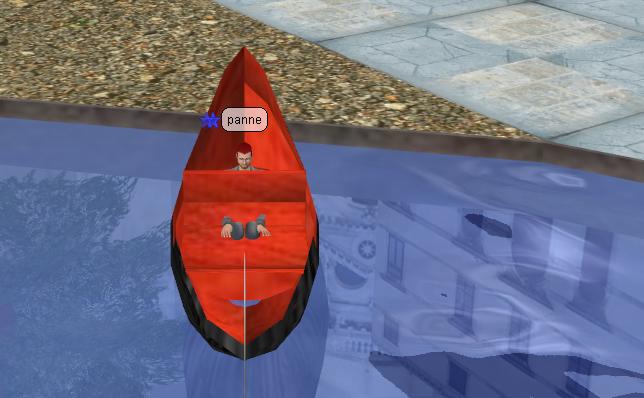
| We add the sequence file "qsitmale" so that the avatar sits down on the gondola seat. |
| Seq file : qsitmale |
| We still see that the avatar is sitting too low and a bit too much backwards . We select the mover object again and we will fix this : |
| Lock avatar position |
| Lock offset (XYZ) : 0.60 0.20 0.00 |
|
 |
|
|
 |
 |
|
|
| 3. make a flying mover (airplane, helicopter,ufo) |
| In this example we will make a ufo : we create the object and right-click and change the object type into Mover. Now we can start to select the mover options |
| ufo.rwx |
| Eject avatar up on exit (or you can choose :)Mover non-solid on exit |
| We deselect "disable flying", so that you can fly with the mover. |
| Disable flying : deselect |
| Lock avatar position |
| Lock offset (XYZ) : 0.00 0.00 0.00 |
| Lock avatar Yaw |
| Locked Yaw (0° to 360°) : 0 |
| Lock avatar pitch |
| Locked pitch (-180° to 180°) : 0 |
| |
|
 |
|
|
| Now we check if everything is ok and we see that the avatar needs to look into opposite direction and that the avatar needs to sit down. We press F12 and we select again the mover properties (= first we select the wall object , then select the "M"-icon of the mover object). |
| Locked Yaw (0° to 360°) : 180 |
| Seq file : qsitmale |
| Now we see that the avatar is sitting too high, we will fix this too. Press F12 and select the mover object properties again : |
| Lock offset (XYZ) : 0.00 -0.80 0.00 |
| We check this out and click upon the mover again and now we see that it is ok : the avatar is totally inside the ufo mover, and the mover is ready for use. |
|
 |
|
|
| 4. Make the mover tilt |
| Now that we know the basic functions for making a mover, we can start adding extra possibilities. You will notice when flying around with the ufo, that the mover keeps being perfectly horizontal . When turning the mover in a curved line, the mover should tilt a little bit. We add this in the options: you can put a maximum tilt of 12.7 degrees. |
| Apply Pitch on Move to Av. |
| Roll on Move (-12.7°to 12.7°) : 10 |
| You can also make the mover tilt forward or backwards |
| Tilt by Terrain |
| Pitch on Move (-12.7°to 12.7°) : 12 |
| You can also make tilt the avatar together with the ufo mover : |
| Apply Roll on move to av |
| |
| 5. Speed /turn speed/glide/friction |
| We can change the speed of the mover : 1 is the average speed, 10 is high already |
| Speed factor (0.1 to 25.5) : 3 |
| Glide: This determines how much speed the mover will lose when NOT colliding with the ground or other objects, such as when flying through the air. This only applies when the mover is under user control. |
| Friction : This determines how much speed the mover will lose when colliding with the ground or other objects. This only applies when the mover is under user control. This can be used for e.g. ice skating. (Also when using Zones, you can use friction.) |
|
 |
|
|
|
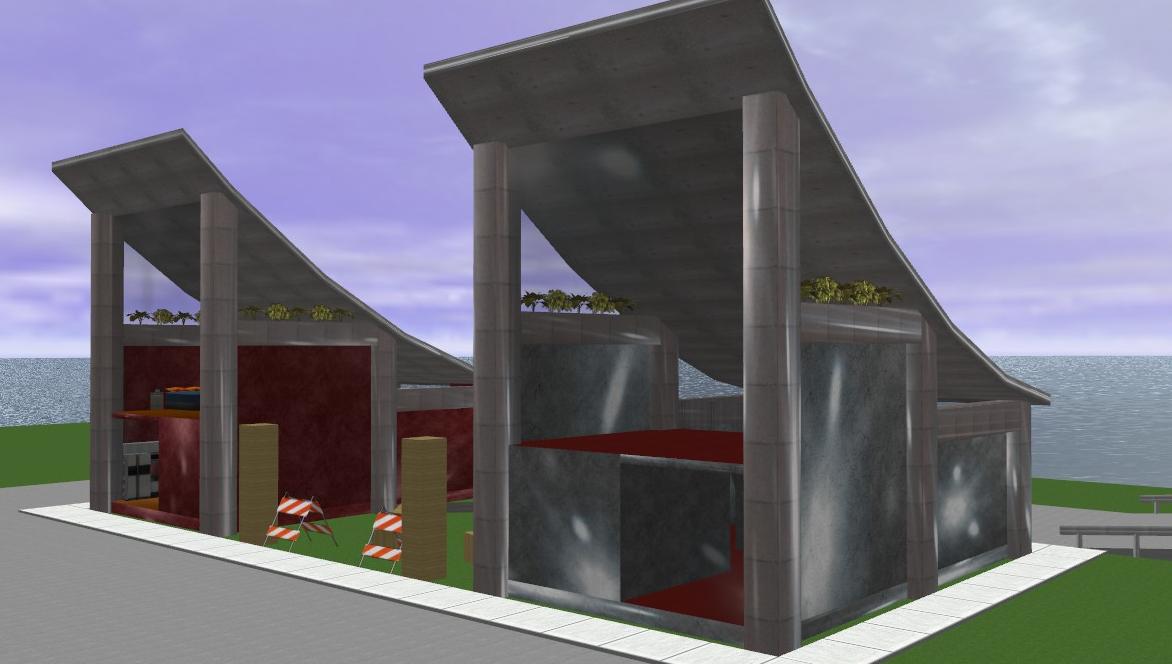
| Some mover examples : |
| |
| AlphaWorld 2144N 1544W |
| AWSchool 153S 150E : various |
| AWSchool 42N 120E : various |
| AWSchool 90S 25E : various |
| AWSchool 87S 30W : various |
| AWSchool 3S 17W : various |
| AWSchool 3S 5W : horse |
| AWSchool 2S 13W : skilift ride |
|
|
|
 |
|
|


